The easiest way to get started with MinimalWebshop is to create a Paddle test account called a sandbox account. This way you can create your webshop, add your products and check everything is working with test credit cards. When you are ready, apply for a production Paddle account and start selling to real customers.
Why use a Paddle sandbox test account?
In this guide we will walk you through how to create a Paddle Sandbox account. This guide will be practical for those who wish to build a webshop, create products, and test payments with dummy credit cards before going live.
Once you have your Sandbox account ready and are satisfied with your webshop, you can transition to a production Paddle account to start accepting actual credit card payments from your customers. The good news is that MinimalWebshop handles the synchronization of all your products and prices between from your test account to your production account!
Signing-up for a Paddle sandbox account.
The first step is to go to the Paddle Sandbox sign-up page. Because both systems (production and sanbox) look identical, it's important to verify you are on the sandbox page by checking the URL matches sandbox-login.paddle.com; if it does not, you are likely on a production account page, and you ought to rectify this immediately. Next, click on sign up to start the process on the right note.

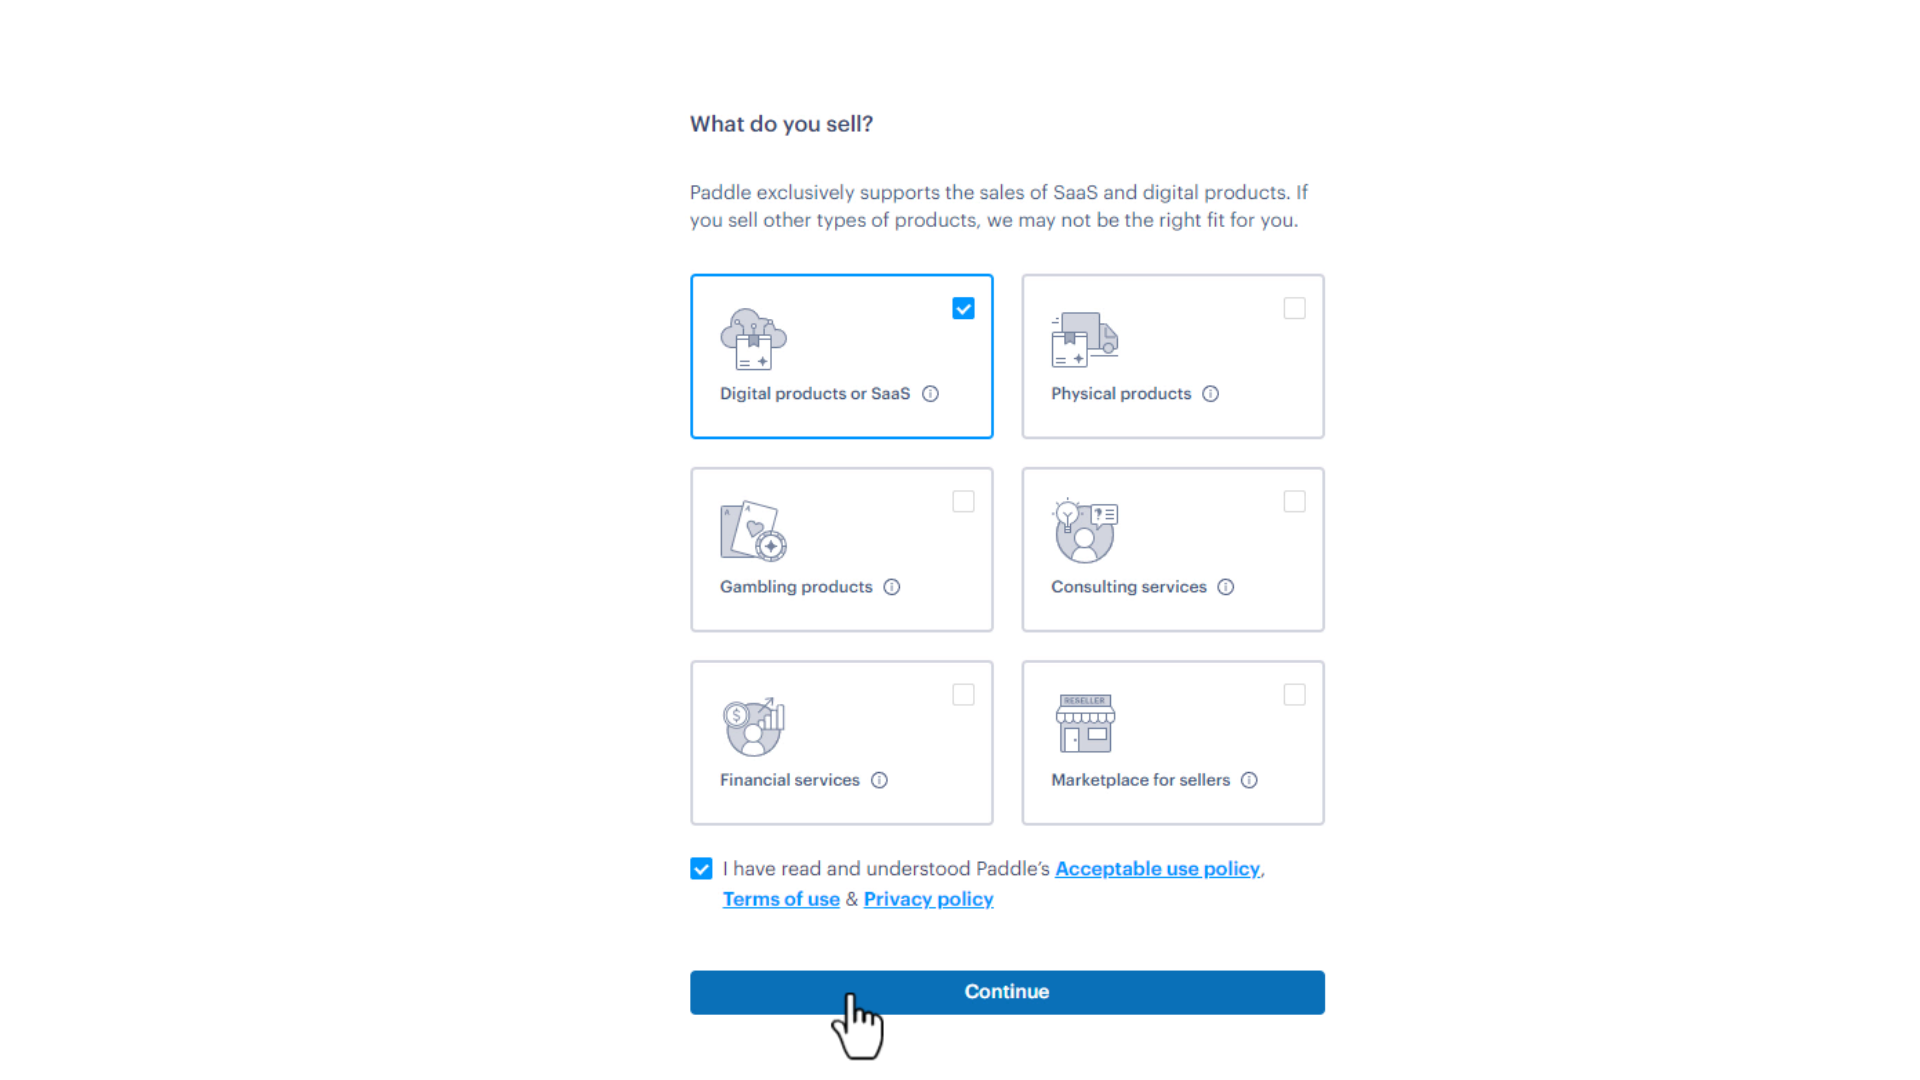
Choosing account type
The sign-up pages for the Sandbox and actual accounts look alike, with the only difference being that the Sandbox account requires no verification of your details. Nonetheless, it might be helpful to see the information they'll need later when you apply for a production account.
This guide assumes that you're selling digital products. Other product types might not be suitable for Paddle. Go ahead to accept the terms of use and fill out some demo information.
Entering your Business Information
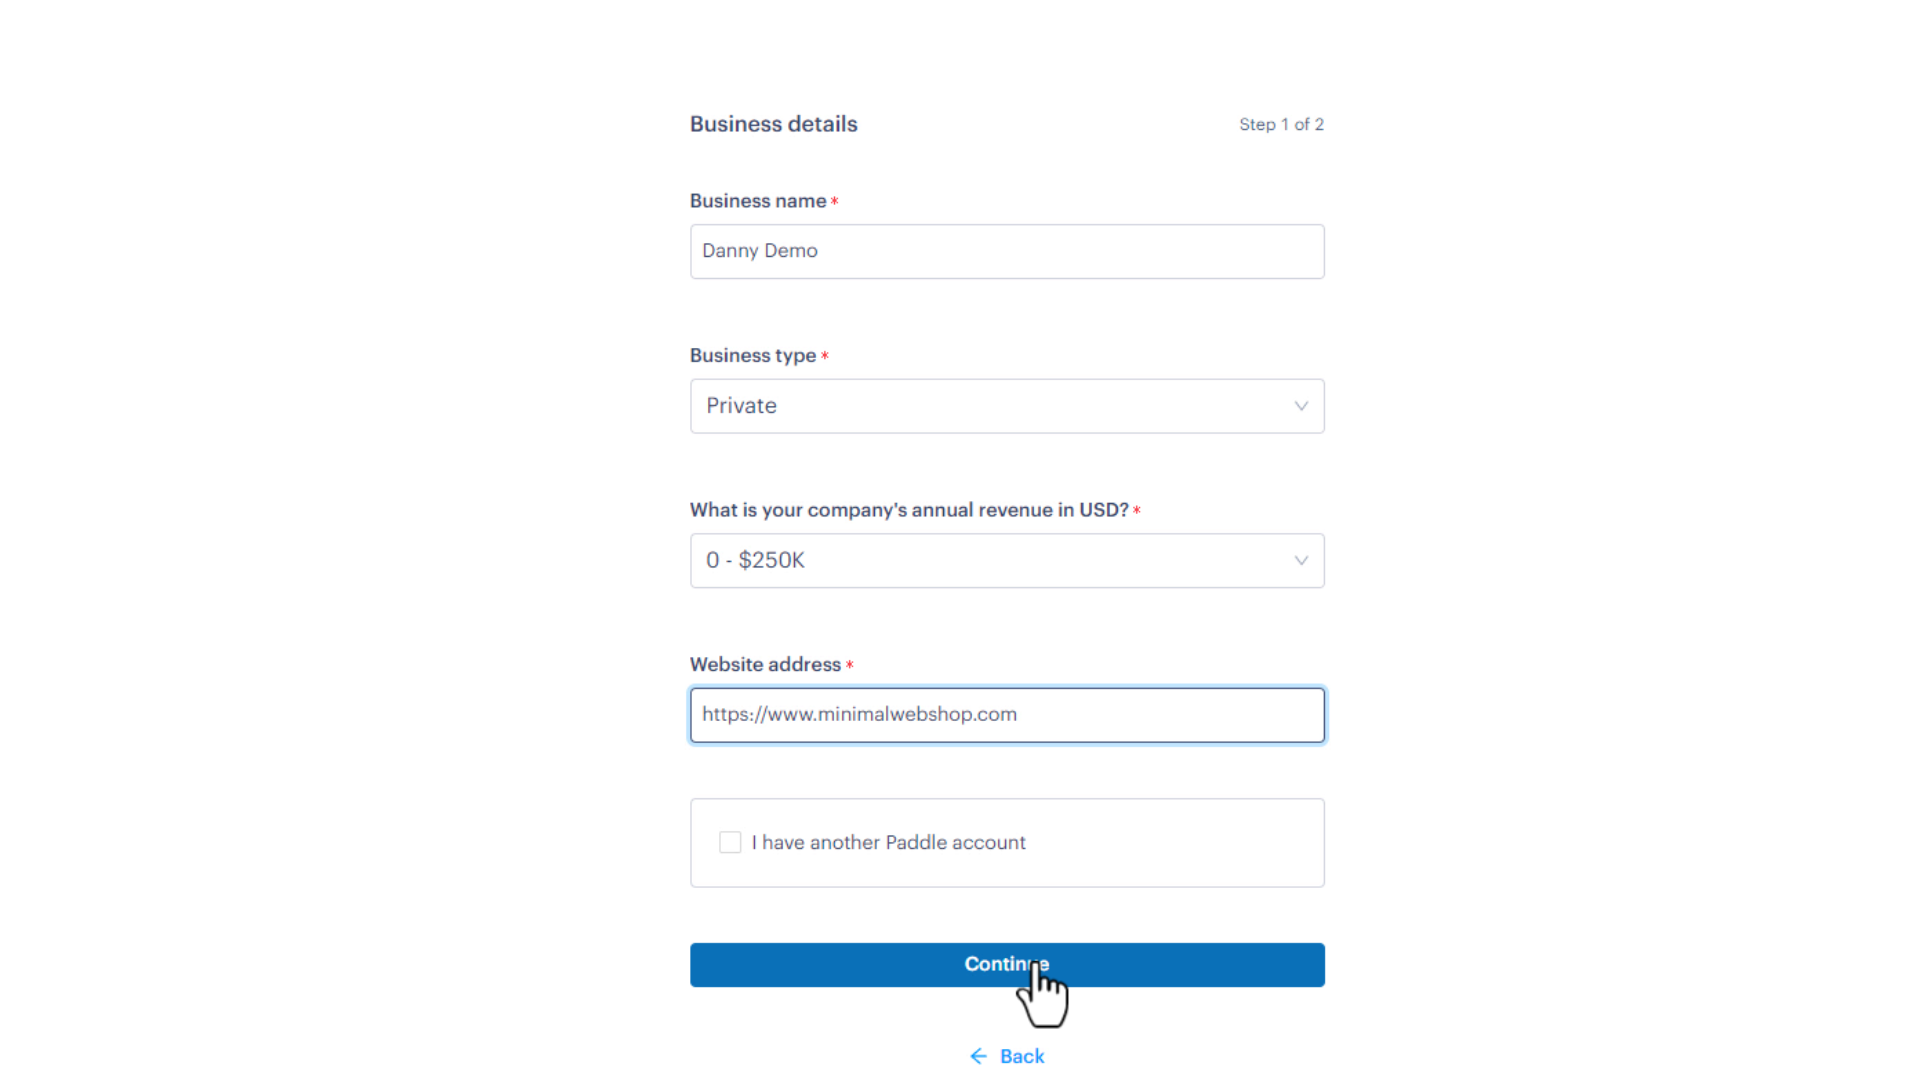
A valuable highlight at this stage is that Paddle does accommodate individual sellers. Contrary to popular belief, you don't have to be a formally registered company or corporation to leverage their services. This guide will use a private company account as the primary example.
For the sandbox you can just enter any website, but in the production account you will want to add your website here as Paddle will require you to verify your domain with them.
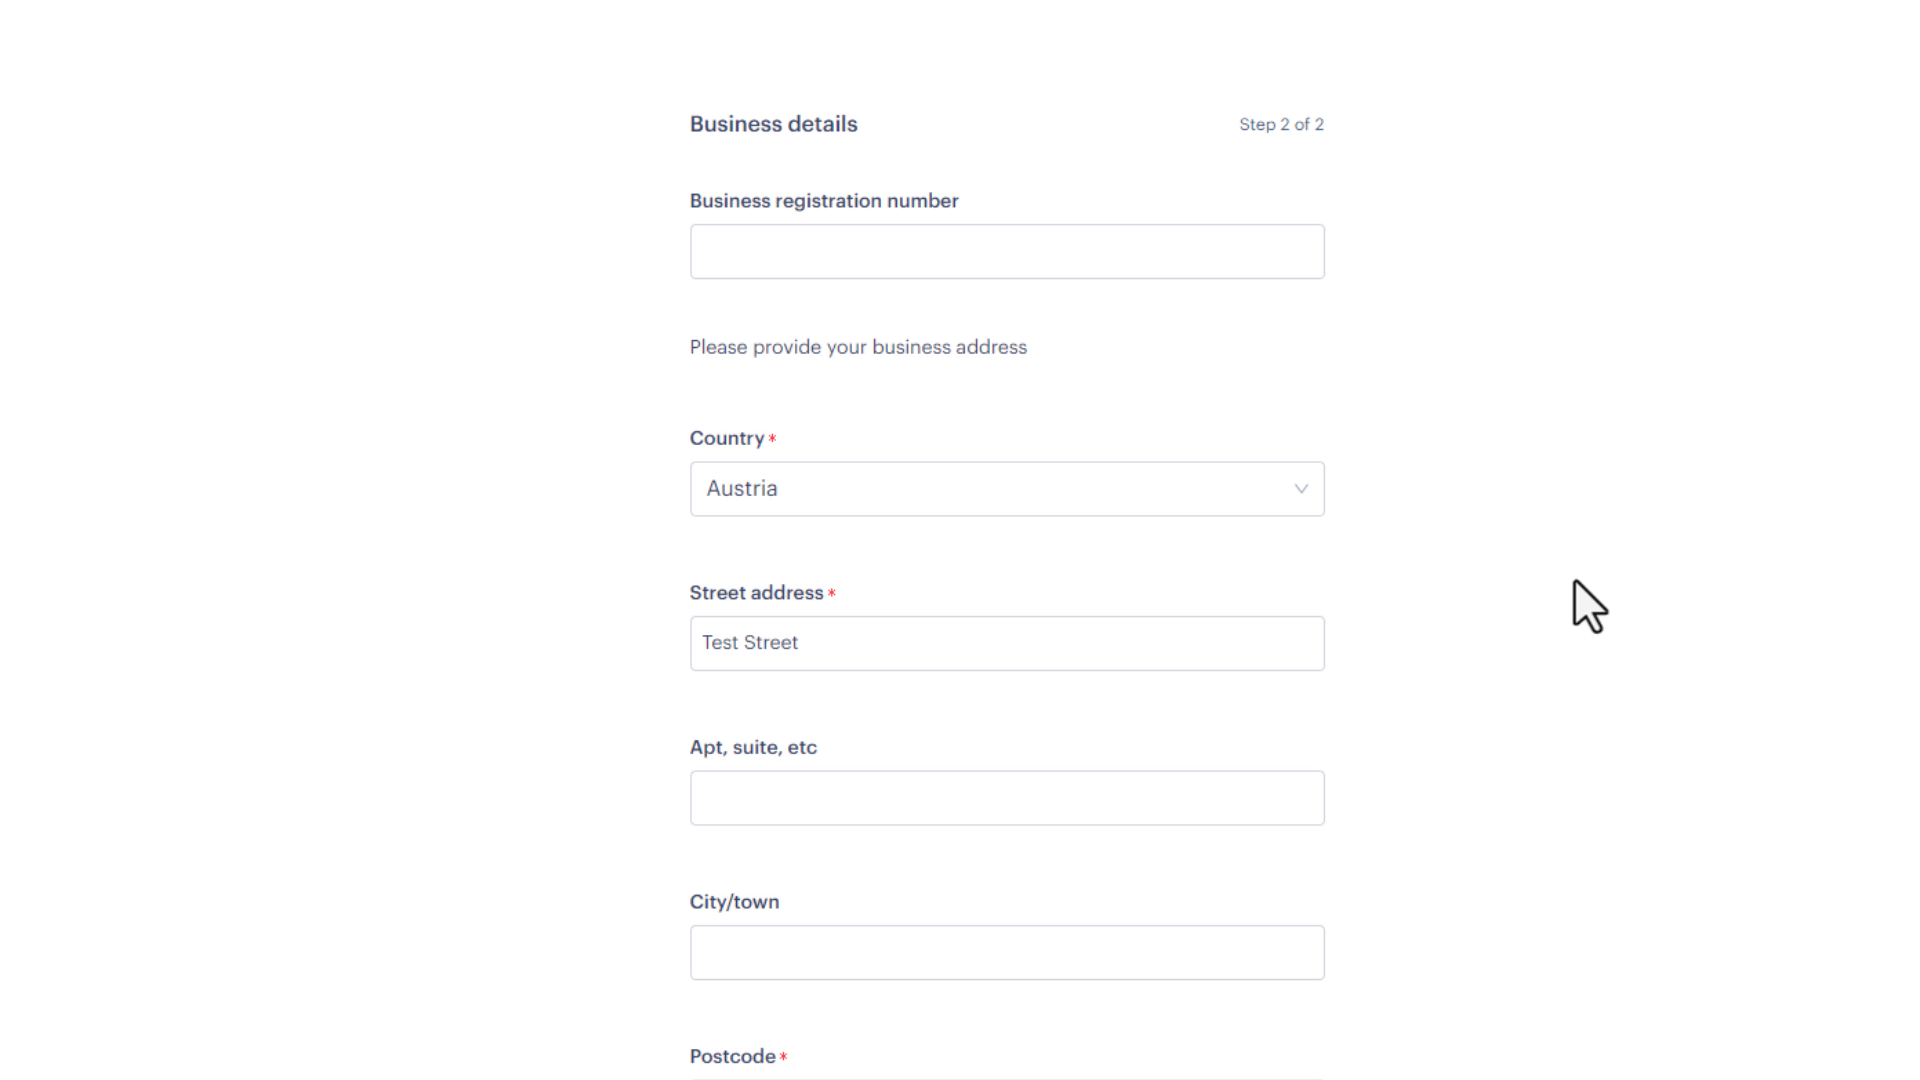
Next step, fill out your business address. As this is just a test account, feel free to use any test data, but make sure you use your real address for your production account.
Your Paddle Dashboard
Once this is done, the grand doors to your Paddle dashboard should swing open. At this point, there's not much to do within Paddle. Our Minimal Webshop will conveniently synchronize the products created into your account, thus setting up everything automatically.
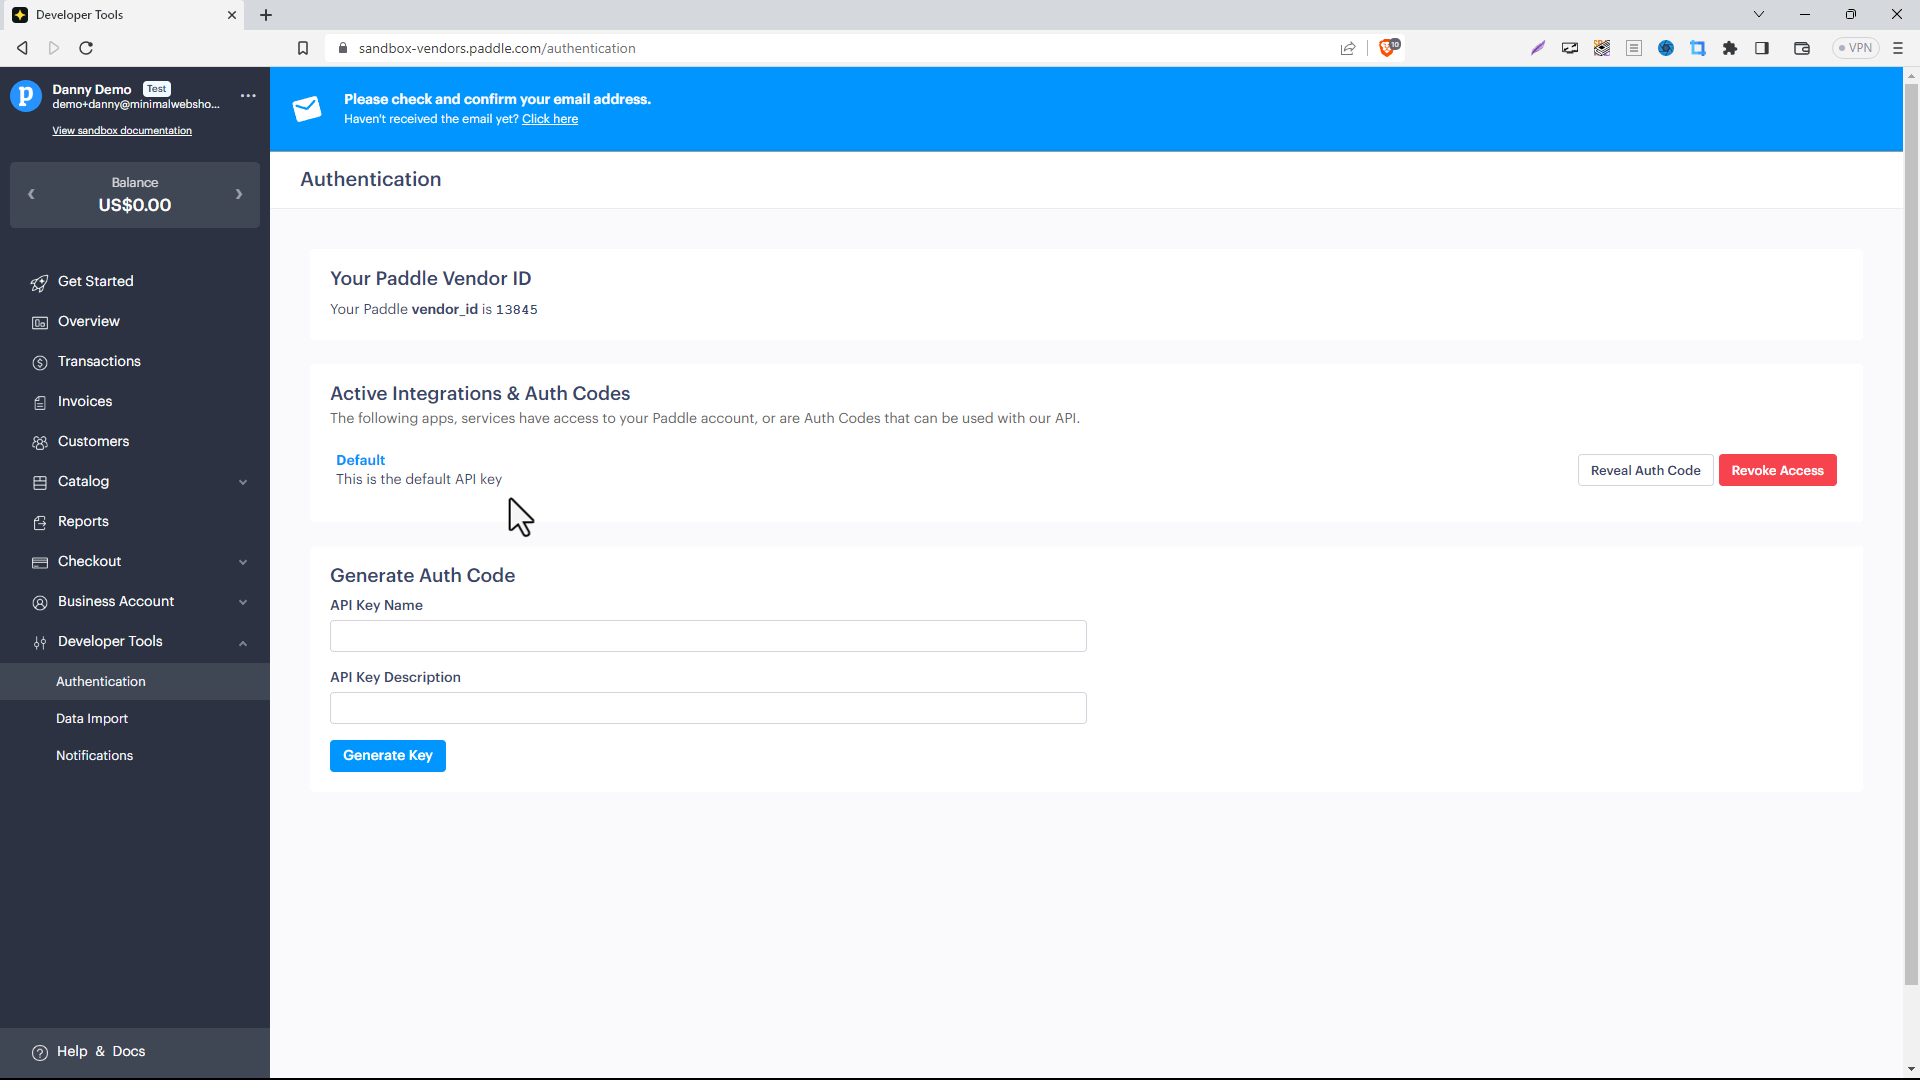
You will require some items for your MinimalWebshop setup. These are located under Developer Tools Authentication. You will need the Vendor ID and the Vendor Auth Code.
Next step: Setup your MinimalWebshop account and launch your webshop
