The three main parts of MinimalWebshop are your Products Page, the Sales Page and the Settings Page. Let’s take at each one and see what it offers, but first let’s take a look at the Dashboard.
Available as a video tutorial
Dashboard
If you've successfully completed the intro wizard, you are greeted by the Dashboard when you come back.
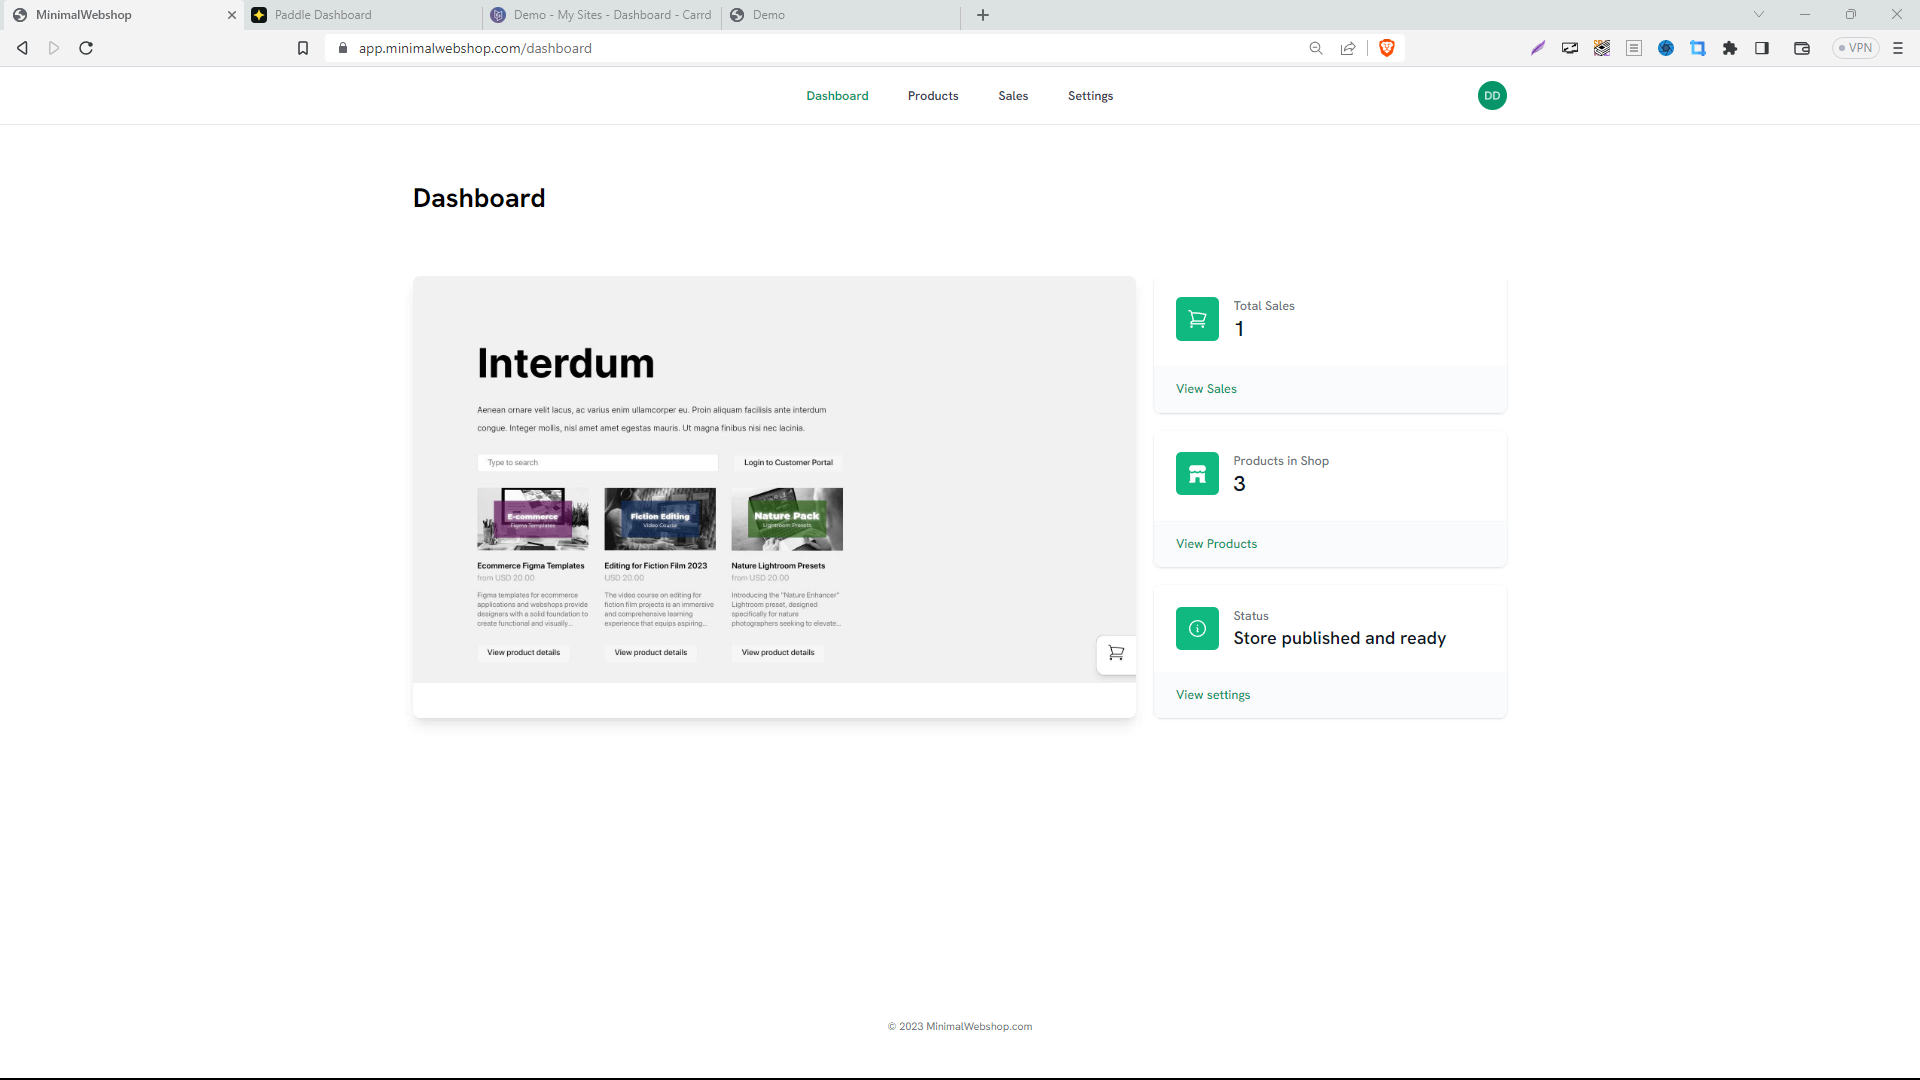
You'll see your total sales figure, number of products in your shop, and you'll notice that everything is green. This shows that your store is published and ready to welcome customers.
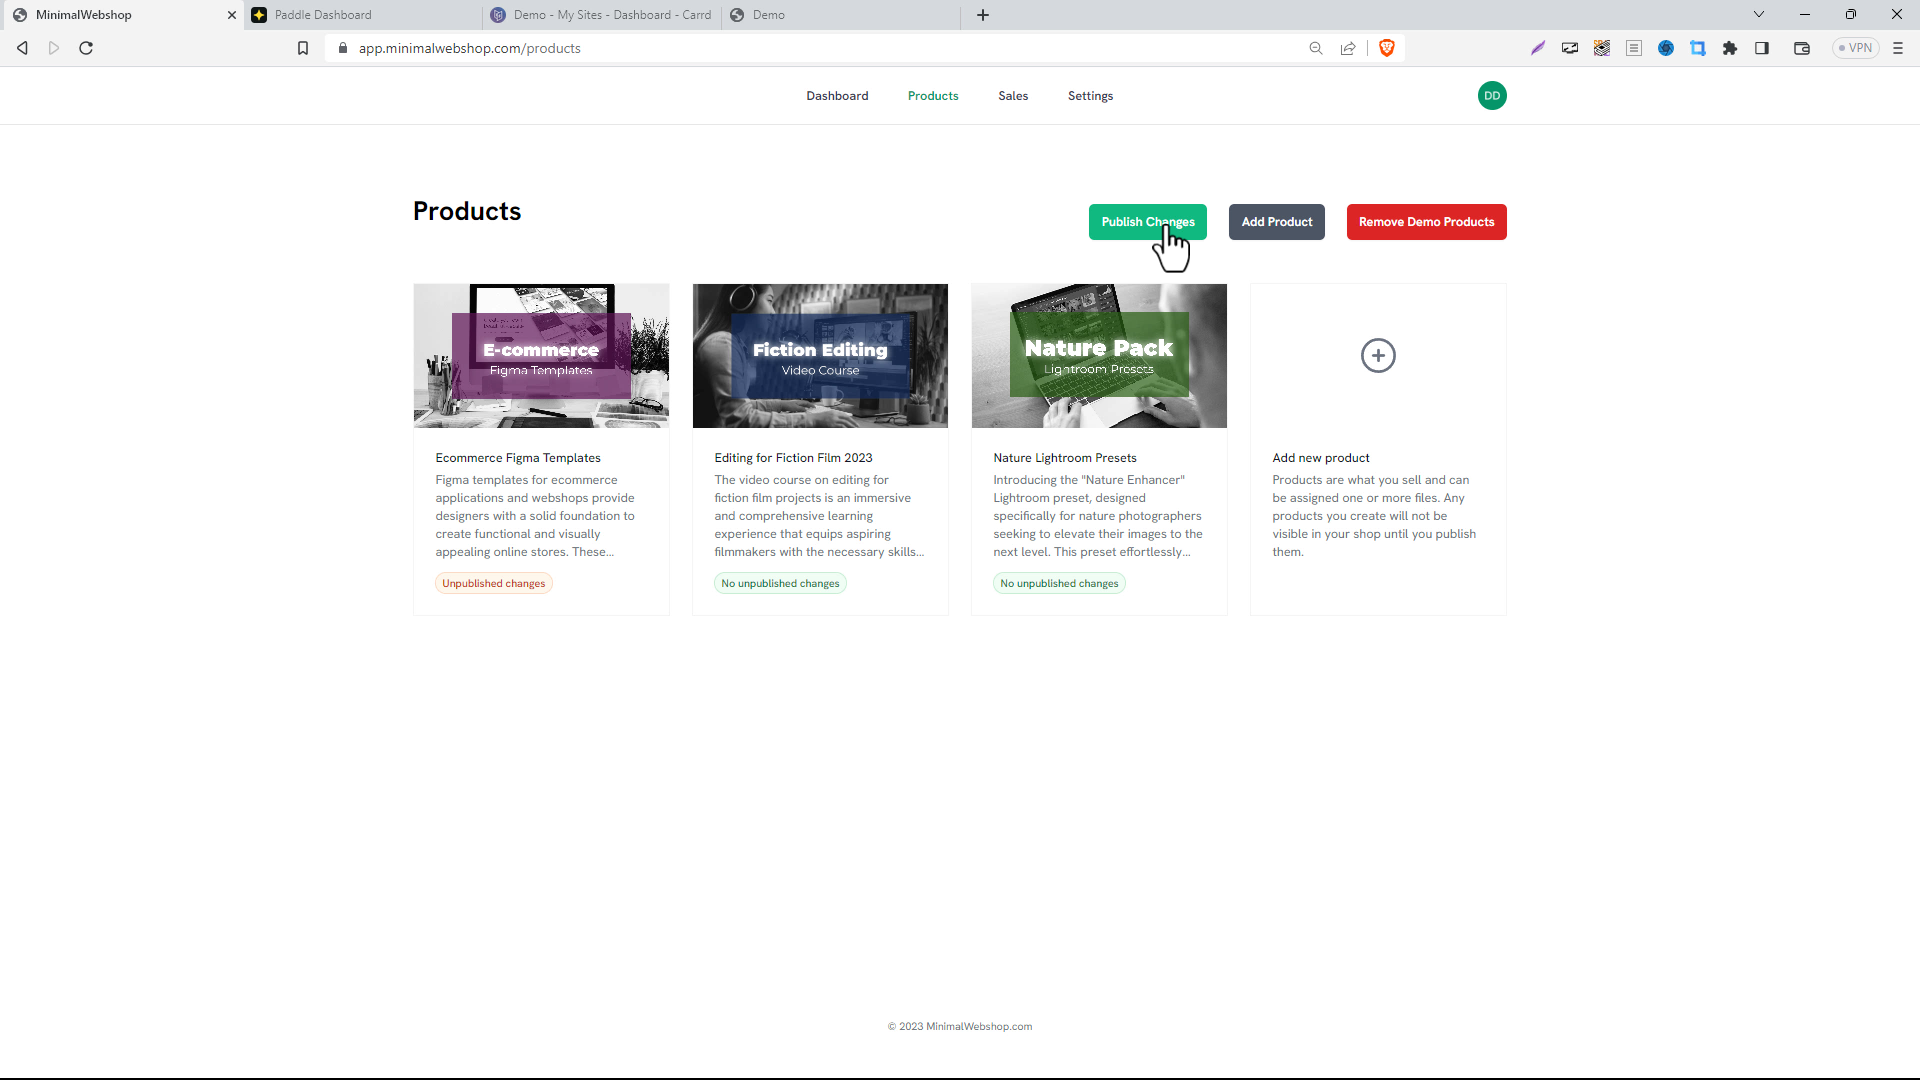
Products Page
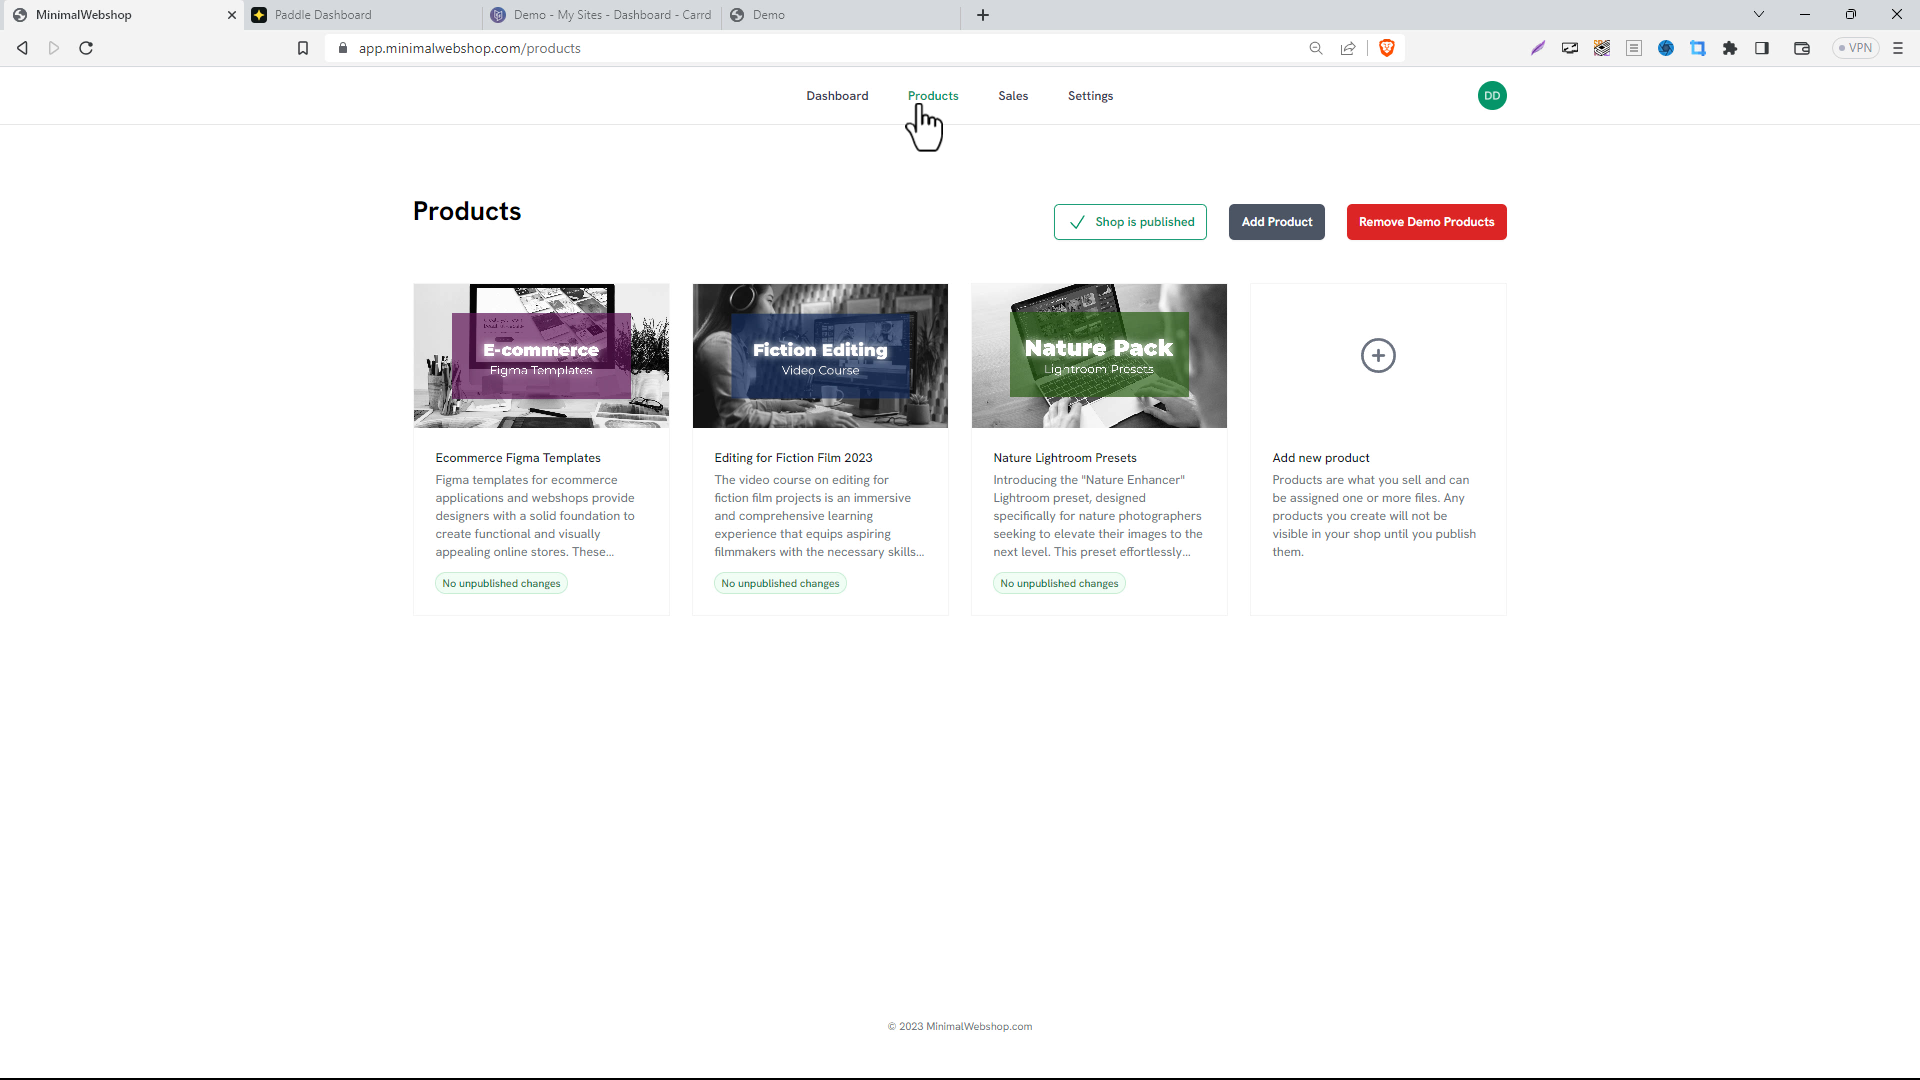
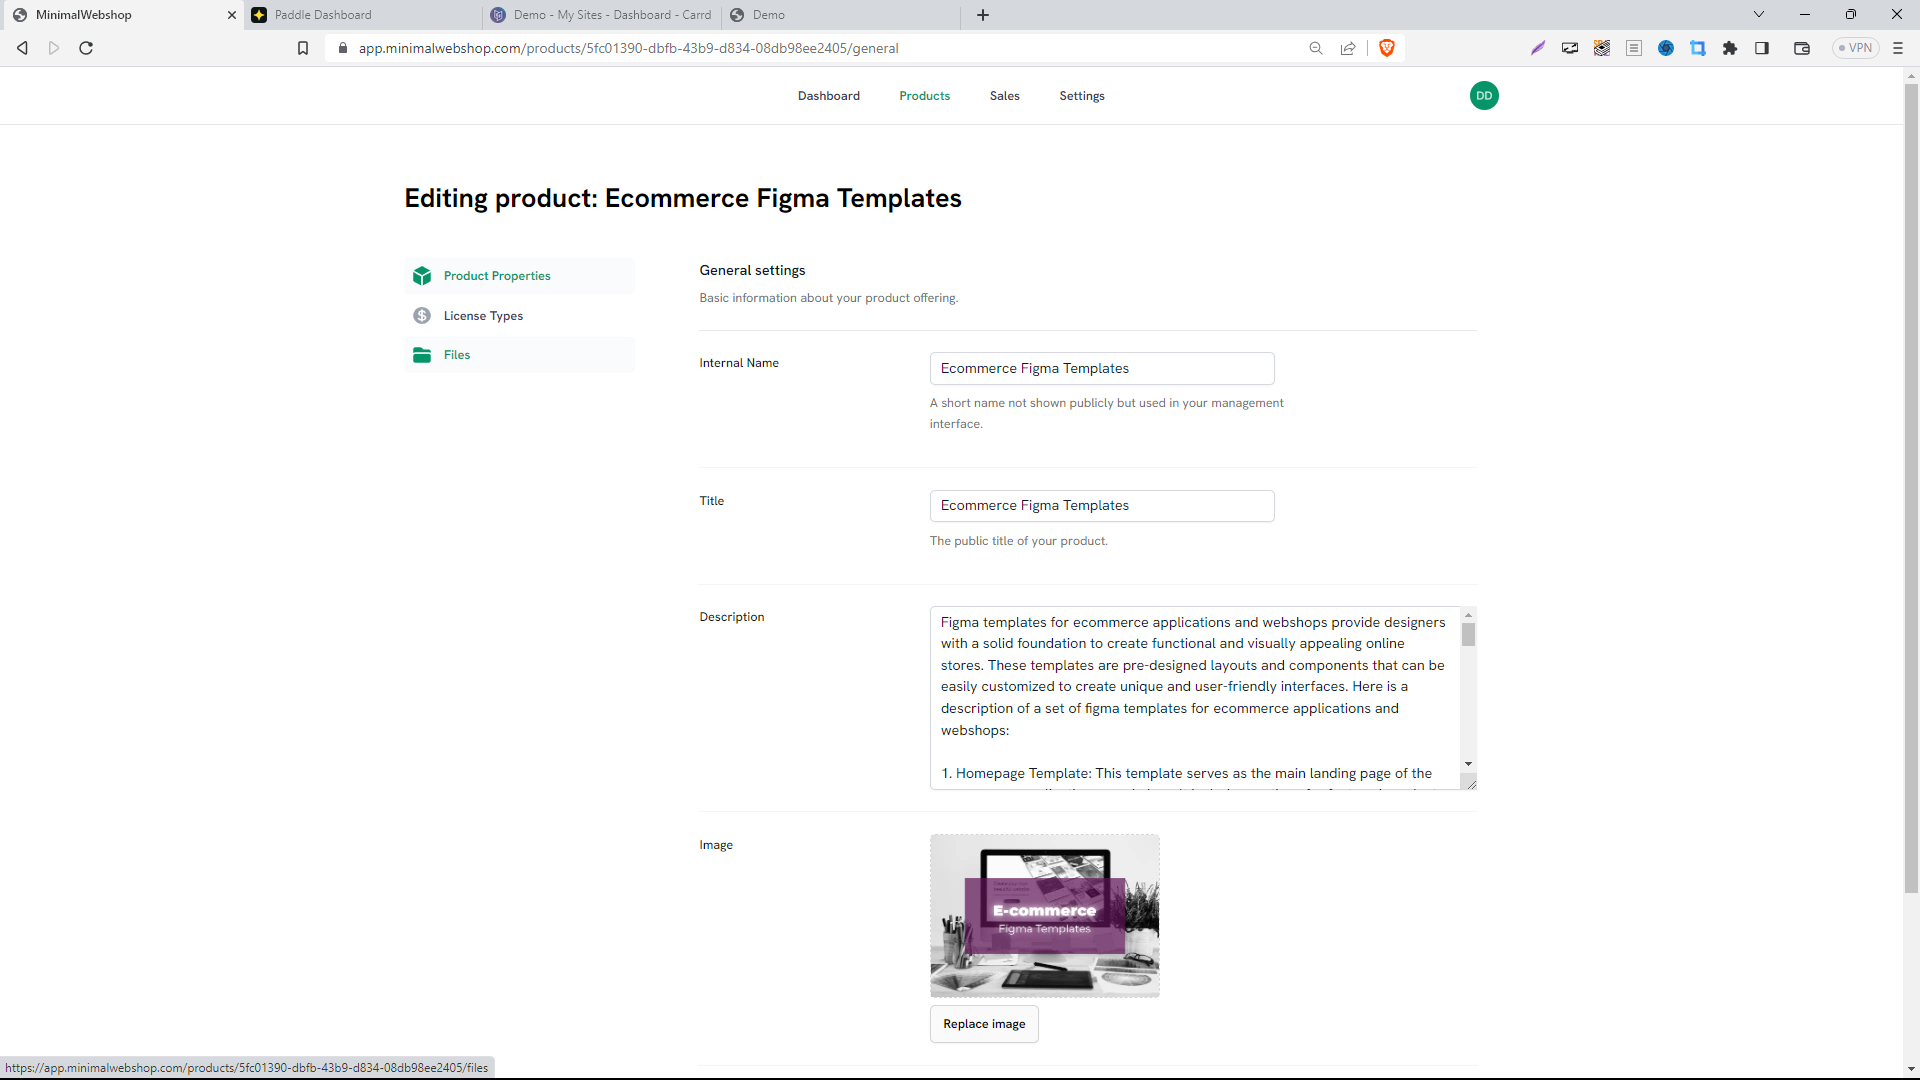
Eager to modify some products? Navigate to the Products page. Each product comes loaded with various settings including the internal name (like a SKU), a public title and description, and, of course, the product's image.
The License Types section facilitates the addition of different license types/price types for your products. Hence, if your product has different editions, like personal, team, or company editions each having separate pricing and different license conditions, you can promptly add them to the product.
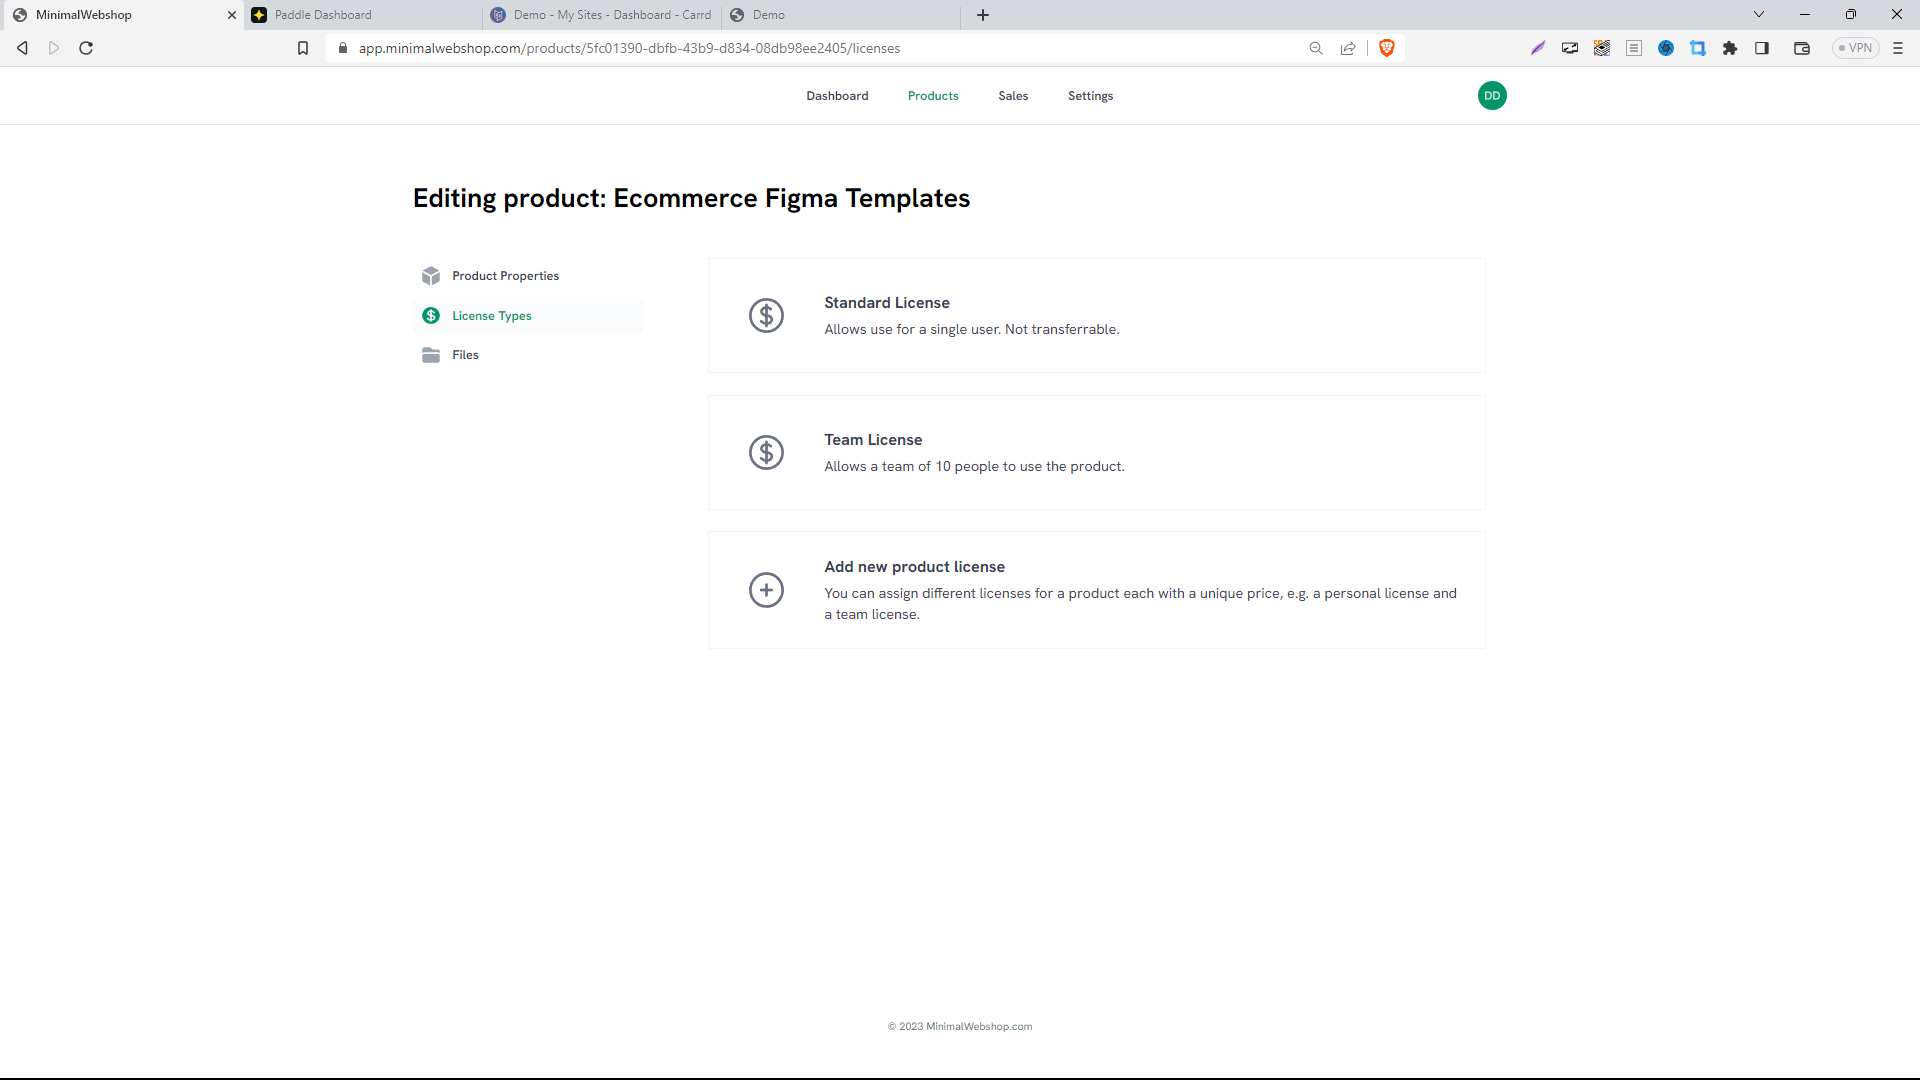
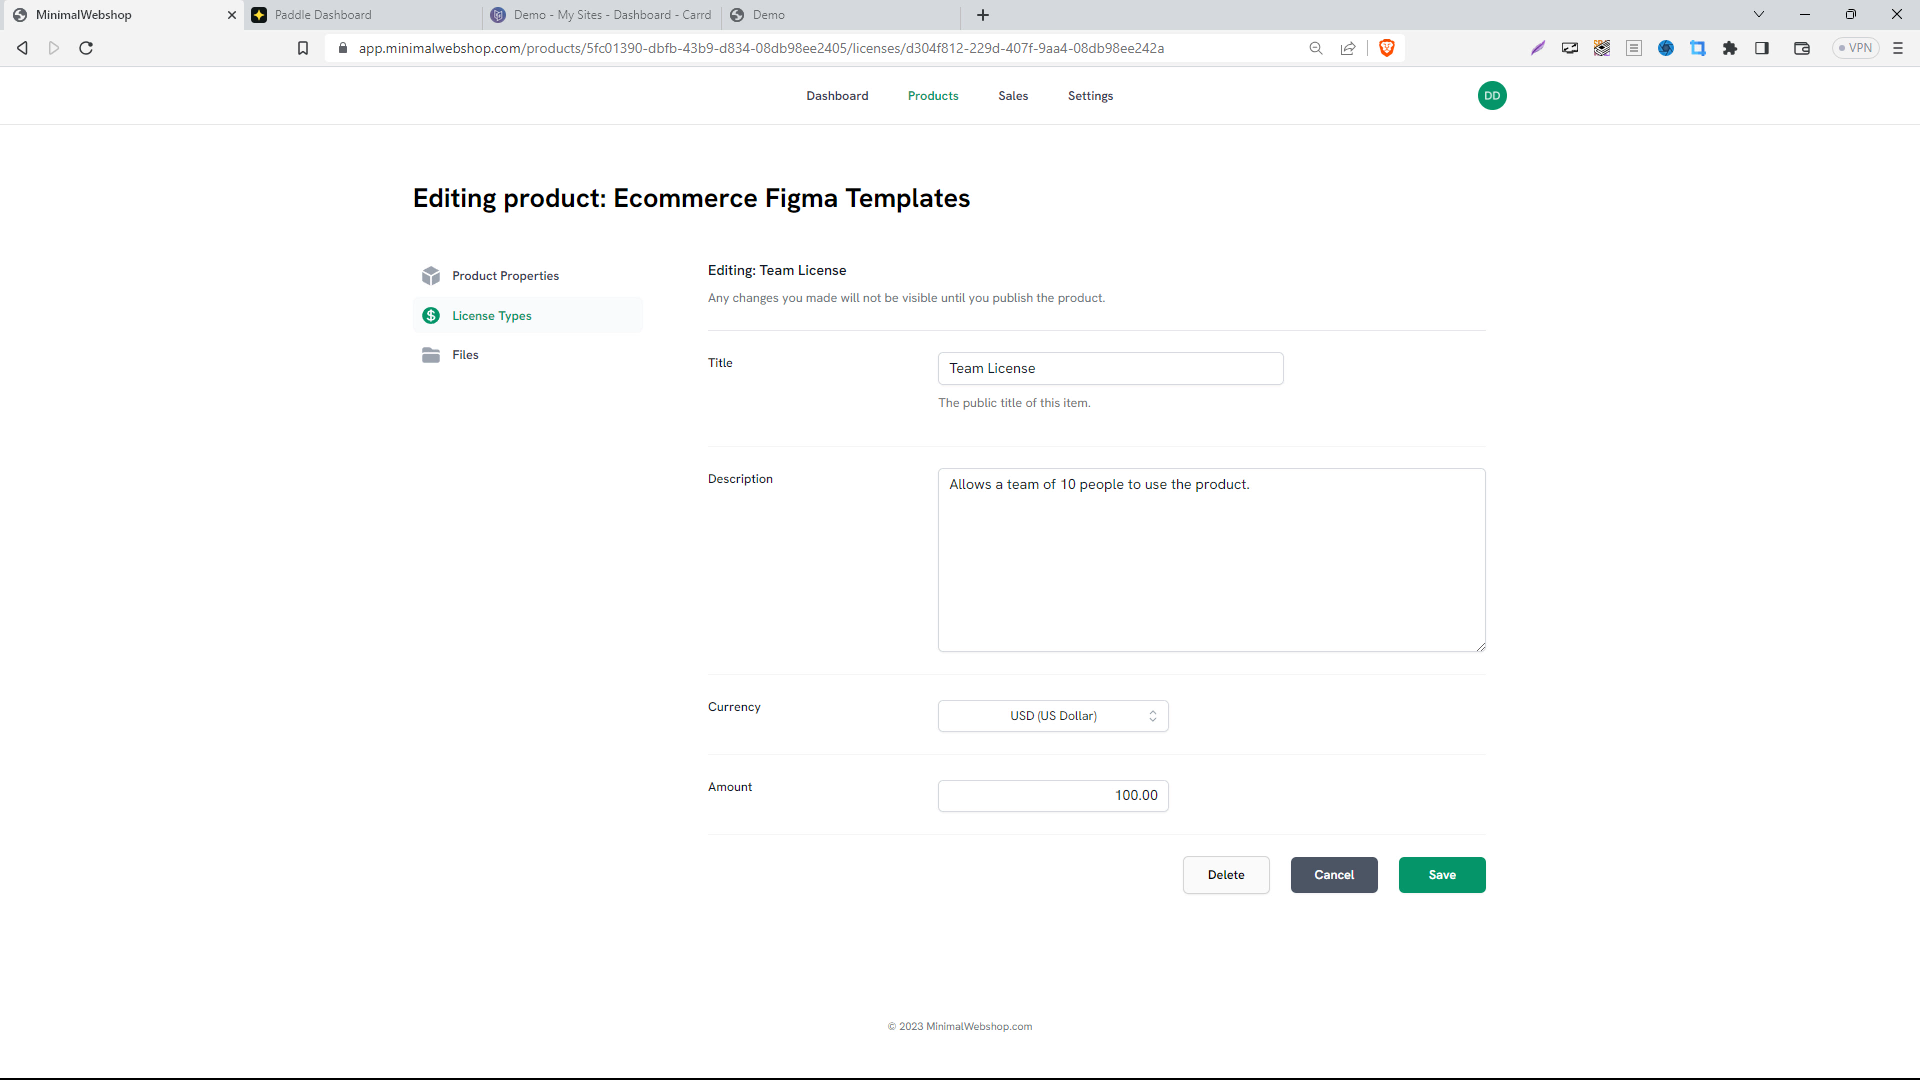
Taking a look at each license, you'll find a unique name, a dedicated description space where you can specify any restrictions or limitations of that license, and of course add the price.
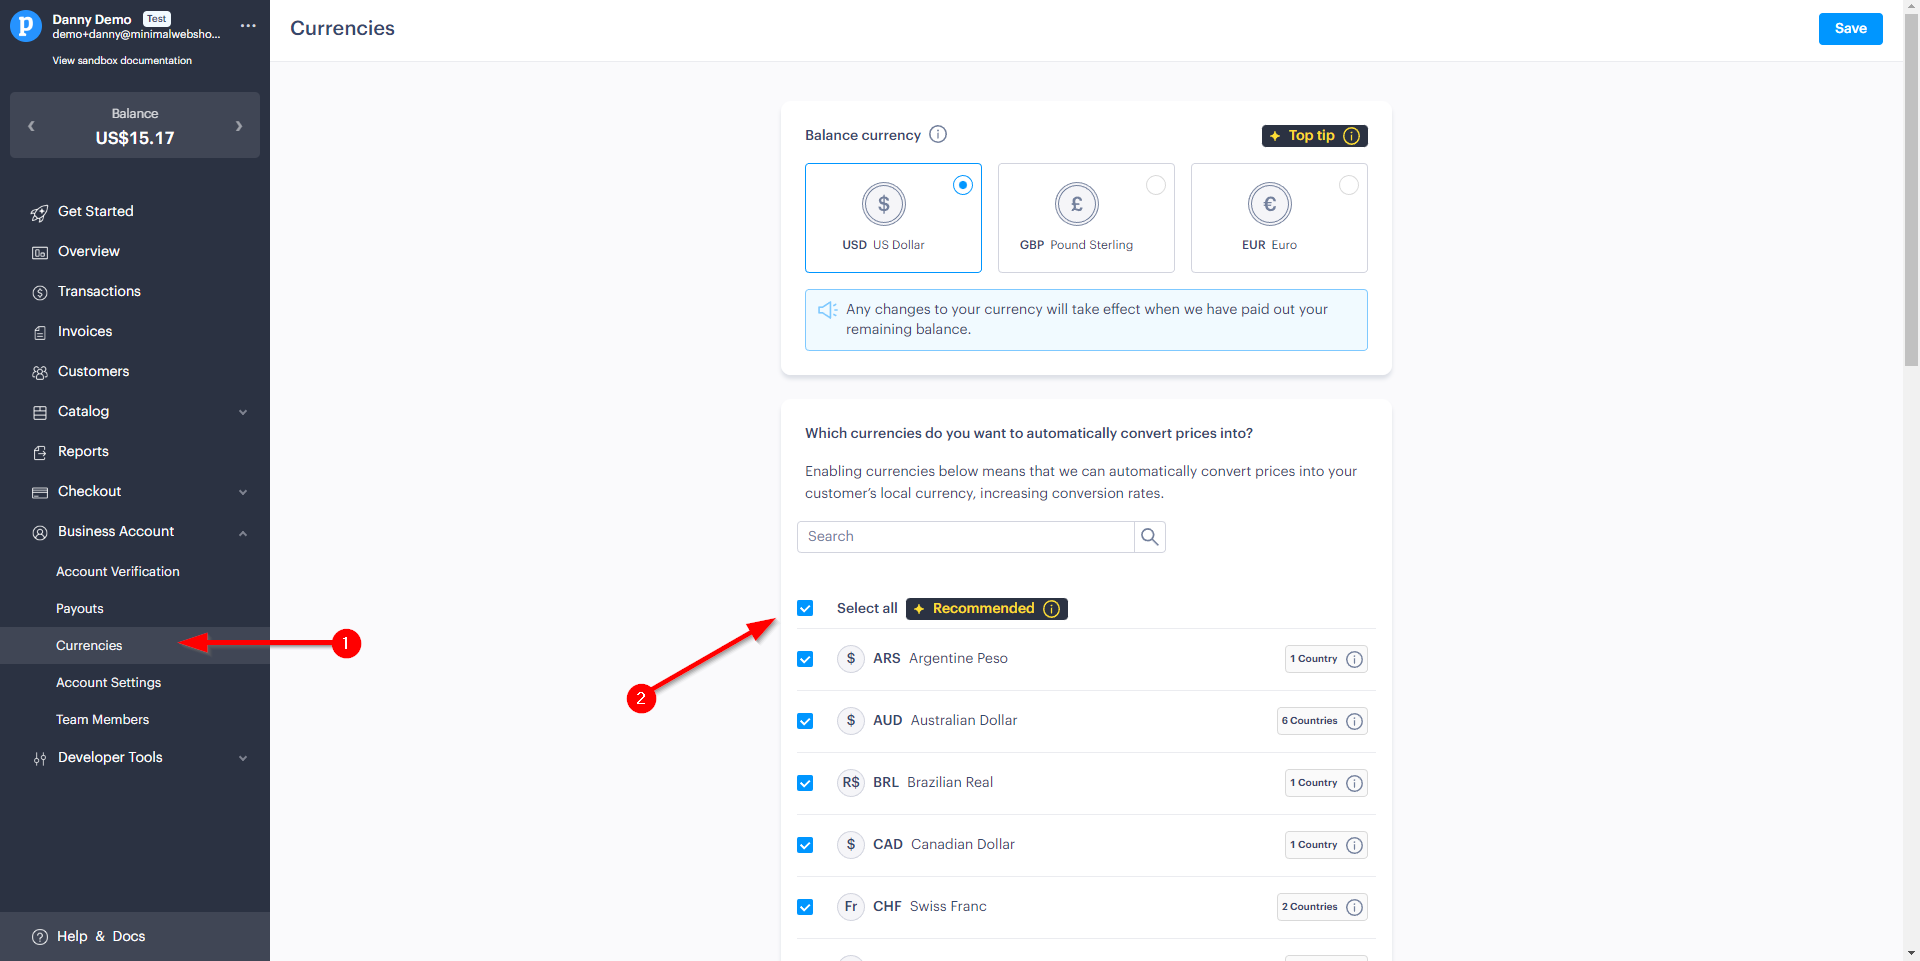
Tip: If you add a price and are using Paddle, head over to the Paddle currency page and Select All currencies to switch on Automatic Currency Conversion and hit save. This will ensure that your customers always see a familiar local currency. MinimalWebshop will then show your customers the localized price and most likely boost your sales.
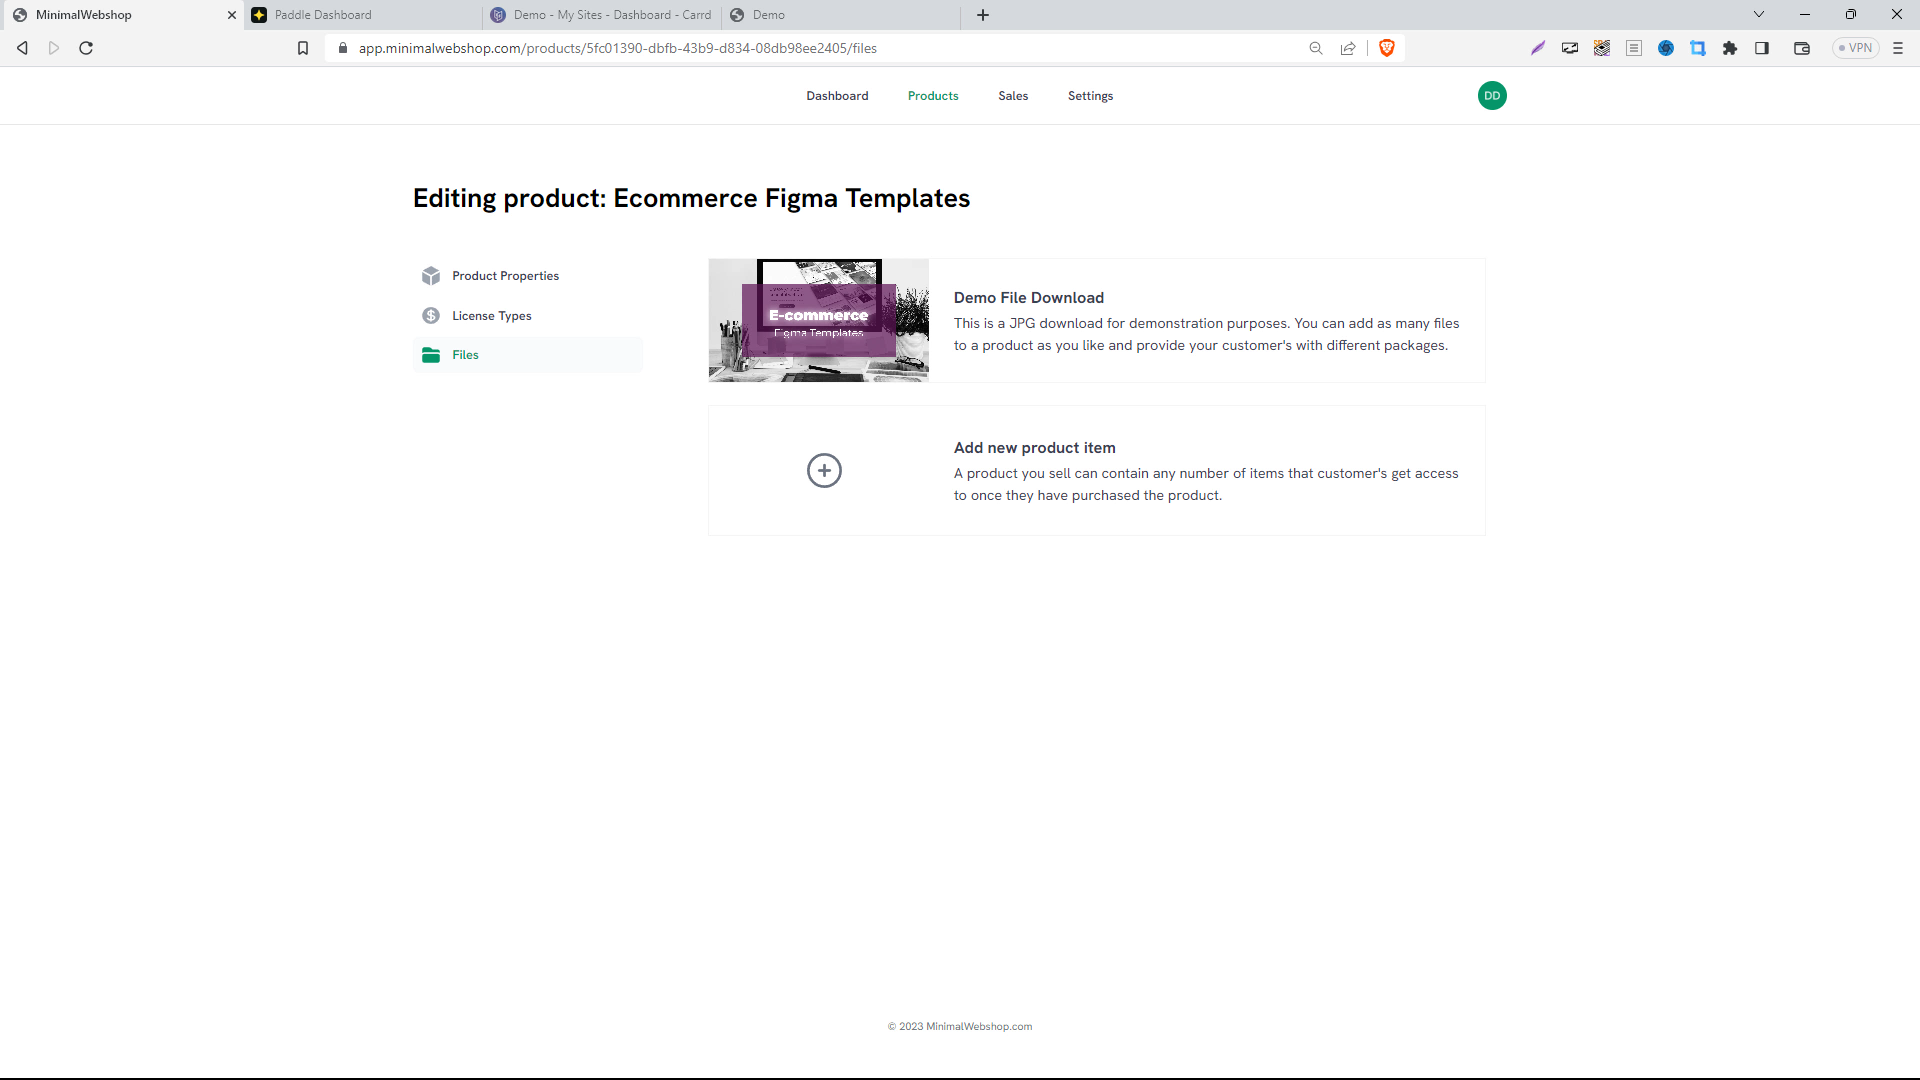
The Files section enables you to upload all files your customers will receive after buying your product. Feel free to add PDFs, zip files for multimedia content, and any other files.
Publish Changes
Any adjustments to your products are saved as a draft inside the MinimalWebshop and none of your customers will see them until you hit Publish Changes. This will synchronize all the changes into your live webshop and into Paddle.
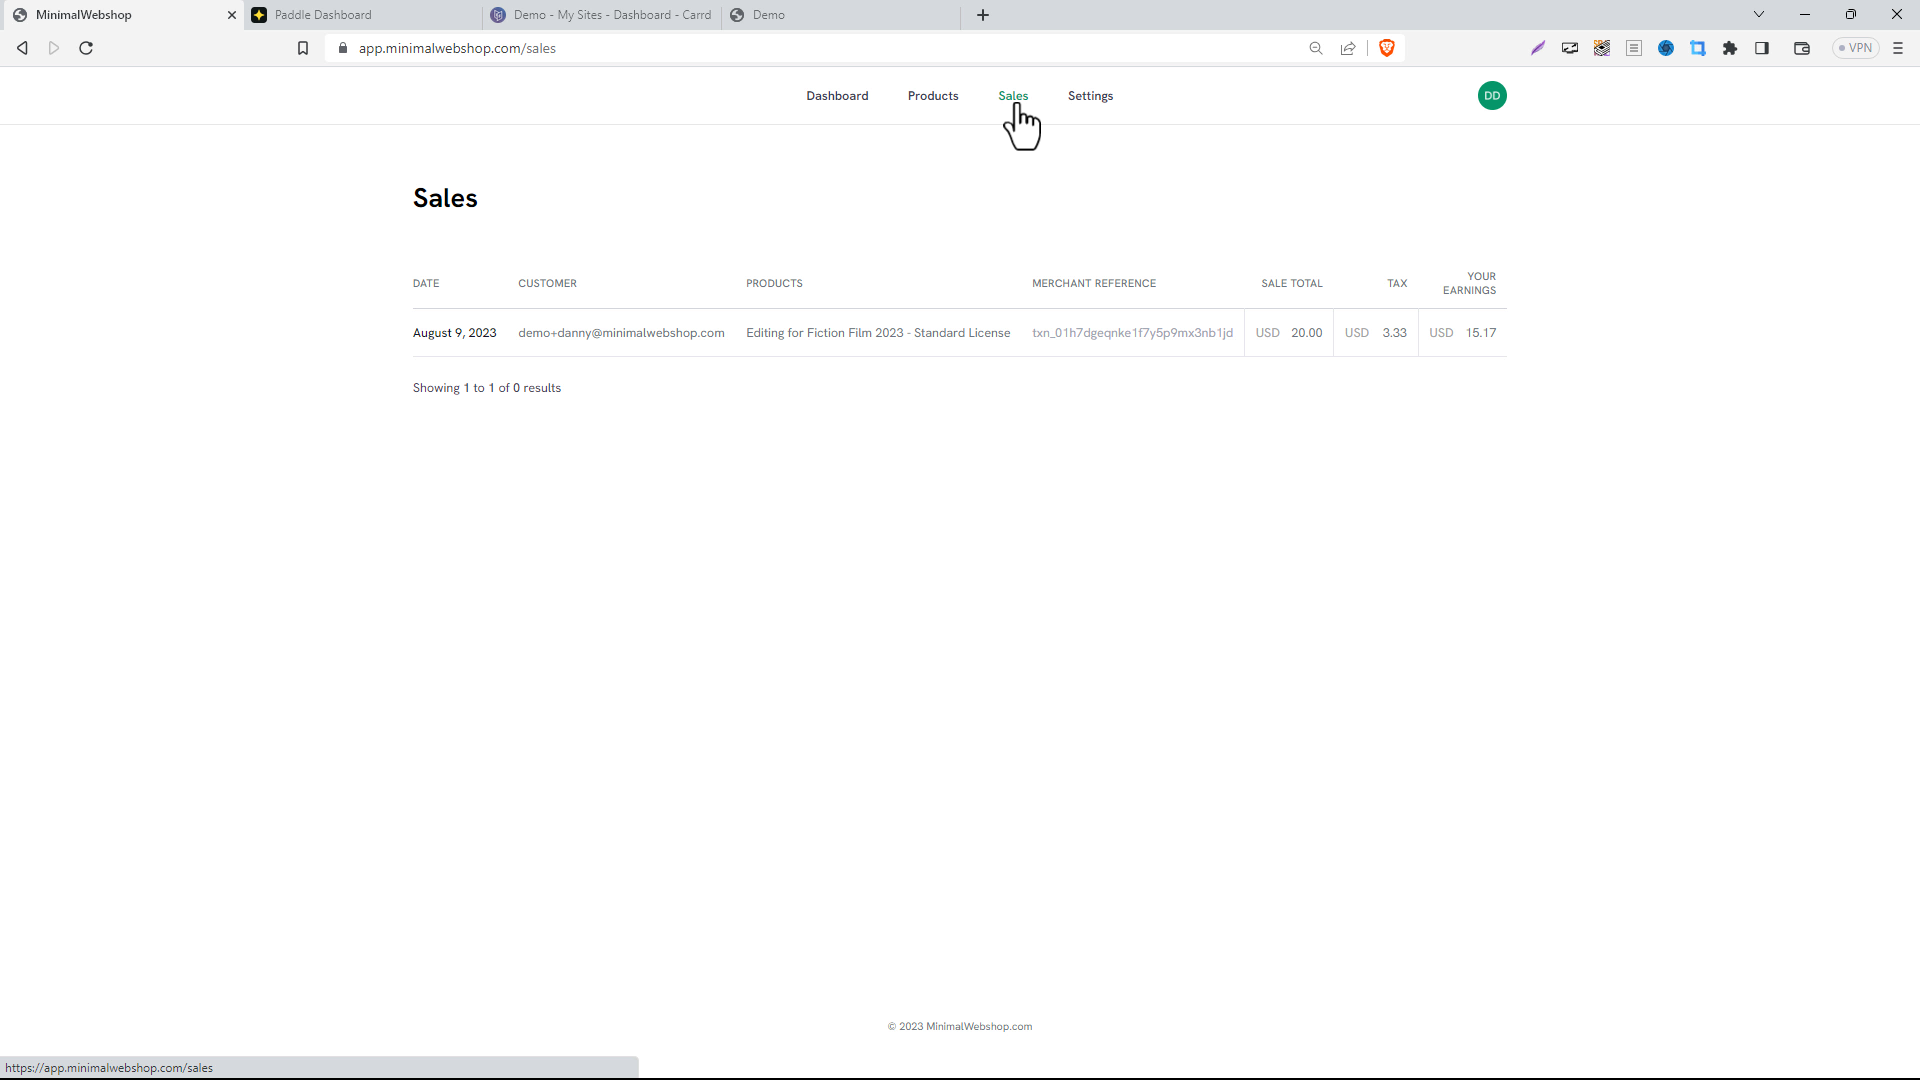
Sales Page
Head to the Sales page and you will see the list of sales for your webshop. It will include the basic information about the buyer, the product purchased and some financial information. You can check your Paddle account for a more exhaustive analysis of the transactions.
Settings Page
Wish to polish your public-facing data? Set foot on the Settings page. Here, you have the power to amend various parameters including your business name, company address, friendly company name, support email, and webshop URL. The Merchant subsection even lets you add different merchant details.
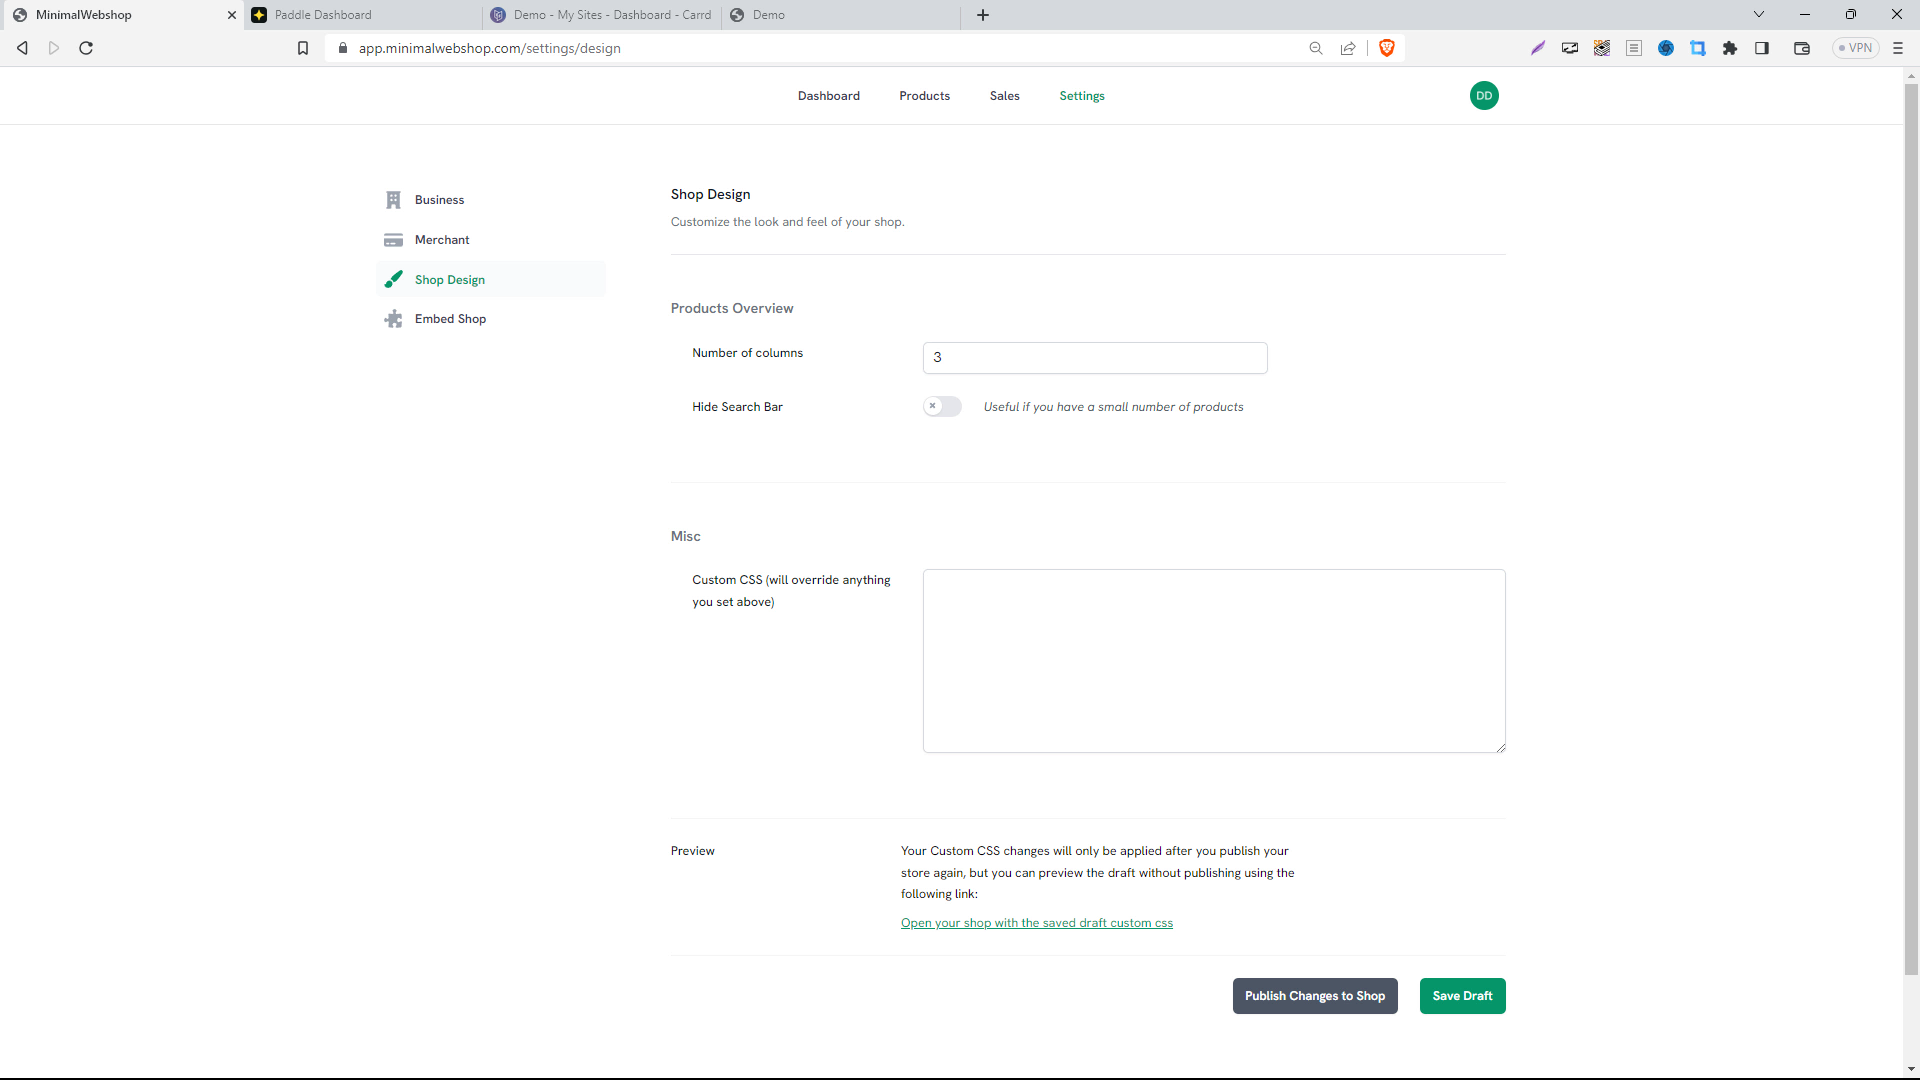
Customising Shop Design with CSS
And if you're an aficionado of personalisation, the Shop Design tab is the place to go. It empowers you to modify the CSS of your webshop, thereby providing you full control over the appearance of your store.
Embedding the Shop
You’ve probably done this in the intro wizard, but if you need to get the script again to add the webshop to a website, you can do that any time from this section. There are also guides on how to add the webshop for many popular website builders and CMS systems.
That's it! That’s our overview of the MinimalWebshop. Armed with these new insights, you can now elegantly manage and customise the appearance of your webshop, providing a seamless and user-friendly experience to your customers. Happy selling!